I airbrushed another painting today, using my drawing of a little angel.
CLICK ON PICTURES FOR A BETTER VIEW.
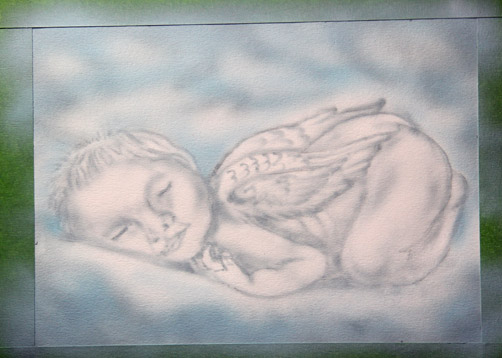
This is my sketch.
I then sketched in the details of the little angel with reduced detail paynes gray and started painting in some clouds in the background.
In the next picture, I started adding some light blue clouds, building the background more.
I added some detail magenta the underside of the clouds in this next picture, continuing to build the background. I also came back in and added some more white to maintain the highlighted areas of the picture.
In this next picture, I came in and deepened the shadows and darkest areas.
I came back in with white and brought back the highlighted areas, continuing to build the layers of the picture.
The next pictures shows that I worked on the details of the wings and hair. I used the hair brush to get crisp strokes of white. Then, I came back in with the airbrush and added highlights to the clouds.
I felt that I was lacking depth to the picture and decided to come in with some more blue behind the angel. This gave the picture the effect that I was looking for. I wanted the angel to be floating on a single cloud. I also glazed a little of the blue on the angel to keep the colors uniform. While this is not a black and white painting, I wanted to keep it semi-monotoned. I also continued to work on the highlights of the clouds.
This is the finished piece.
This is a 7 x 5 inch painting using Wicked paint on bristol art paper. I used my Iwata Micron CMC - Plus and the Eclipse HPCS airbrush and a 10/0 fine liner hair brush.
Such a little angel! :)


